 |
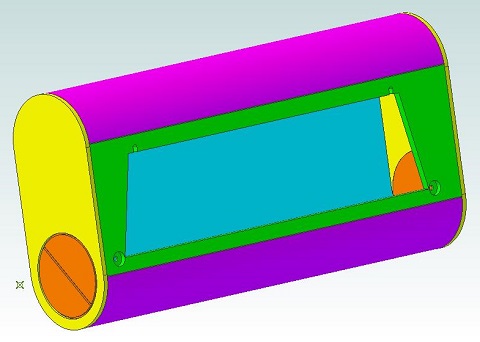
Chopper's Battery Box - this is the 6 in version turned to
show the side that mounts to the foot. This is a now a Ver 4.0
design The image is linked to a 3D .pdf file You can download a zip of the battery box files, which includes a 3D .stp file, here |
Cutting Acrylic Tubing for the Battery Boxes requires care. Here's how I manage it. If you are cutting your own parts, but don't want to bother with cutting the Acrylic Tubing see the price list for the tubing sold separately.
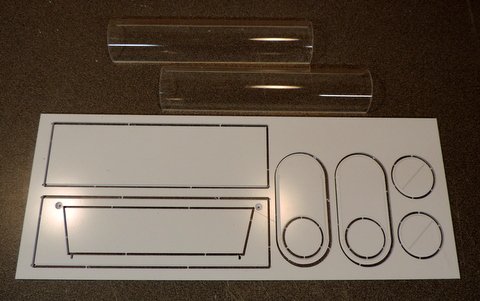 The panel layout has changed from the version0 layout, these parts are now included on the same panels as the Foot Structural parts. | 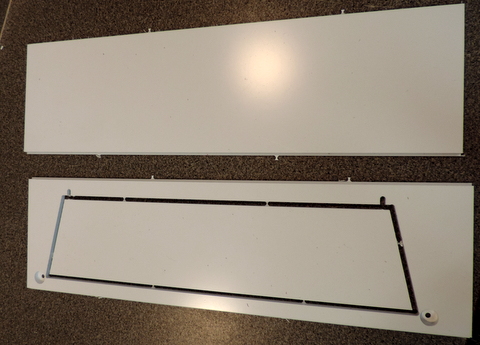 The side with the cutout is NOT symmetrical. There will be two of them and they are mirror images of each other, |
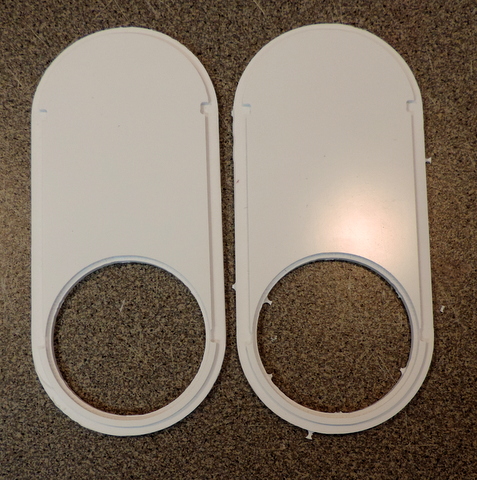 | 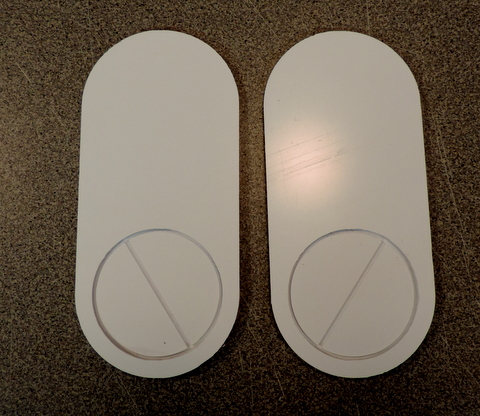 The round inserts in the end caps were necessary to allow machined details on both sides of the part. If you glue the inserts in place before you assemble the box make sure you have the orientation the way you want it. Otherwise do it after assembly. |
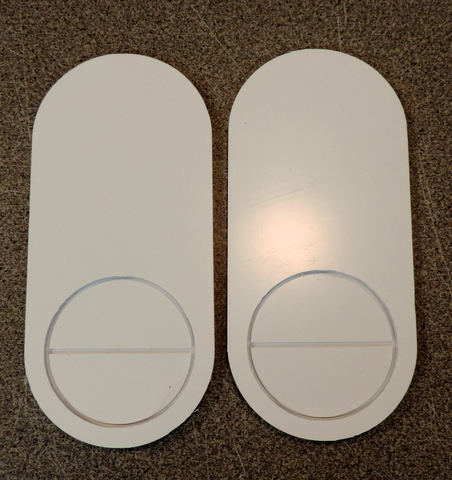 | Left: you can customize the orientation of the inserts to make your droid unique!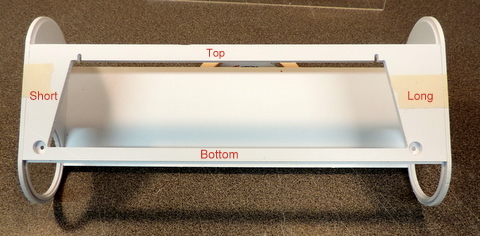 Above: noting the Assymetry of the open side. The other panel will be Mirror image of this one. not shown: Install a pair of 3/8 dia, 1/8 thick magnets for example K&J Magnetics D62-N52 www.kjmagnetics.com |
| The curved components make it hard to clamp the assembly. It's easier to tape it up and then flow the cement into the joints. 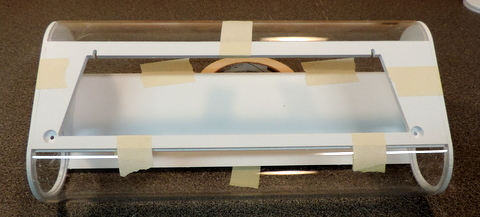 The SciGrip #3 cement is actually intended for Acrylics so you don't need a separate cement to glue the Acrylic Tubing to the CNC cut styrene parts. | 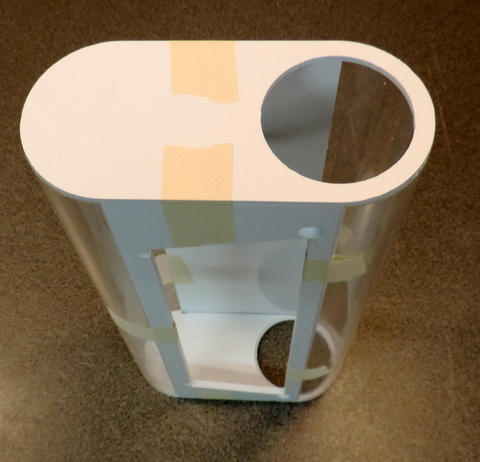 |
You can download a .zip file with both .pdf and .dwg files (1 page each) for the parts of the Battery Box here.
If you are cutting your own parts, but don't want to bother with cutting the Acrylic Tubing see my price list for the tubing sold separately.
If you are cutting your own parts, but don't want to bother with cutting the Acrylic Tubing see my price list for the tubing sold separately.